
Changing Templates on Squarespace 7.0
Step 1: Back Up First
Before switching: save your Custom CSS to a text file, screenshot your current design, document your Site Styles settings (fonts, colors, sizes), and save Code Injection contents. Template switches reset visual settings - your backup is your restoration guide. For backup procedures, our guide to backing up your Squarespace site covers every method.
Step 2: Preview Templates
Go to Design > Template. Browse available templates. Click Preview on any template to see how your current content looks without committing to the switch. Check every page, the header, and mobile display in the preview. For template evaluation, our guide to choosing a Squarespace template covers the eight factors to check.
Step 3: Install the New Template
When you find a template you like (after thorough previewing), click Install. Your content (pages, blog posts, products, images) carries over. Your visual settings (Site Styles, Custom CSS, header layout) reset to the new template's defaults.
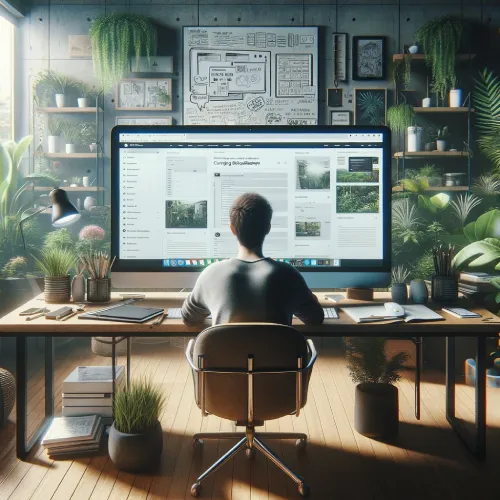
Step 4: Reconfigure
After installing: set your fonts and colors in Site Styles, configure the header layout and logo, review every page layout, update Custom CSS with new selectors, and test on mobile. For detailed reconfiguration, our guide to changing templates on Squarespace covers the complete post-switch checklist.
Changing Your Design on Squarespace 7.1
Why There Is No Template Switching
On 7.1, all sites use the same underlying system. The "template" you chose when creating your site was a starting design - a pre-configured set of fonts, colors, and layouts. Every 7.1 site has access to the same features regardless of starting design. You do not need to switch templates - you redesign by changing settings.
Method 1: Redesign Through Site Styles
Go to Design > Site Styles and update: fonts (heading and body), colors (palette, backgrounds, text), button styles (colors, borders, shapes), and spacing. A fresh color palette and new font pairing can transform your site's feel completely without touching the layout. For font selection, our guide to best Squarespace fonts covers pairings for every style.
Method 2: Rebuild Sections
Delete old sections and create new ones with different layouts using the Fluid Engine. Each section can have its own background, content arrangement, and visual treatment. Rebuilding sections gives you a new page structure while preserving your content. For layout techniques, our guide to Squarespace custom layouts covers the Fluid Engine.
Method 3: Custom CSS Refresh
Replace your Custom CSS with new rules that change the visual feel - different hover effects, new spacing, updated typography sizes, and fresh button styling. CSS changes the personality of your site without modifying the content or structure. For CSS techniques, our guide to Squarespace custom CSS covers every styling approach.
Method 4: Start a New 7.1 Site
For a complete restart, create a new 7.1 site with a different starting design and rebuild your content. This is the most drastic approach but gives you a completely clean slate. Transfer your domain when the new site is ready.
Which Approach Is Right for You?
Small visual refresh: Update Site Styles (fonts, colors, buttons). Takes 15 to 30 minutes.
Moderate redesign: Update Site Styles plus rebuild key sections with new layouts. Takes a few hours.
Major overhaul: Full section rebuild, new CSS, new header configuration. Takes a day or more.
Complete restart: New site with fresh template starting design. Takes several days but produces the cleanest result.
Common Concerns About Changing Templates
Will I Lose My Content?
No. On both 7.0 and 7.1, your content (text, images, blog posts, products) is stored independently of the template. It carries over through template switches and redesigns. For content preservation details, our guide to content carry-over after switching covers what transfers.
Will My SEO Be Affected?
Template changes should not affect your SEO metadata (titles, descriptions, URLs). However, if page URLs change or the site becomes temporarily broken, search rankings can be affected. Set up 301 redirects for any changed URLs. For SEO protection, our Squarespace SEO guide covers post-change verification.
Can I Go Back?
On 7.0, yes - you can switch back to a previously installed template. On 7.1, you undo changes by reverting Site Styles values and CSS. Neither is a one-click undo - both require reconfiguration. For reverting, our guide to going back after switching templates covers the process.
What About My Custom CSS?
On 7.0, Custom CSS stops working after a switch because selectors change. On 7.1, CSS persists through redesigns because the HTML structure does not change. For CSS migration, our guide to why CSS disappears after switching covers the fix. For design strategies, our Squarespace design tips guide covers visual customization principles. For mobile testing after changes, our guide to Squarespace mobile optimization covers responsive verification.
Frequently Asked Questions
How do I change my Squarespace template?
Will I lose my content when changing Squarespace templates?
Can I change templates on Squarespace 7.1?
How long does it take to change a Squarespace template?
Should I back up before changing my Squarespace template?
Will my Custom CSS work after changing templates?
Can I preview a template before changing on Squarespace?
Change Your Design with Confidence
Changing your Squarespace template - whether through a 7.0 template switch or a 7.1 redesign - is a manageable process when you prepare properly. Back up your settings, preview before committing, and budget time for reconfiguration. Your content is safe. Your design is flexible. The result is a refreshed site that better serves your brand.
* Read the rest of the post and open up an offer